November 10, 2026
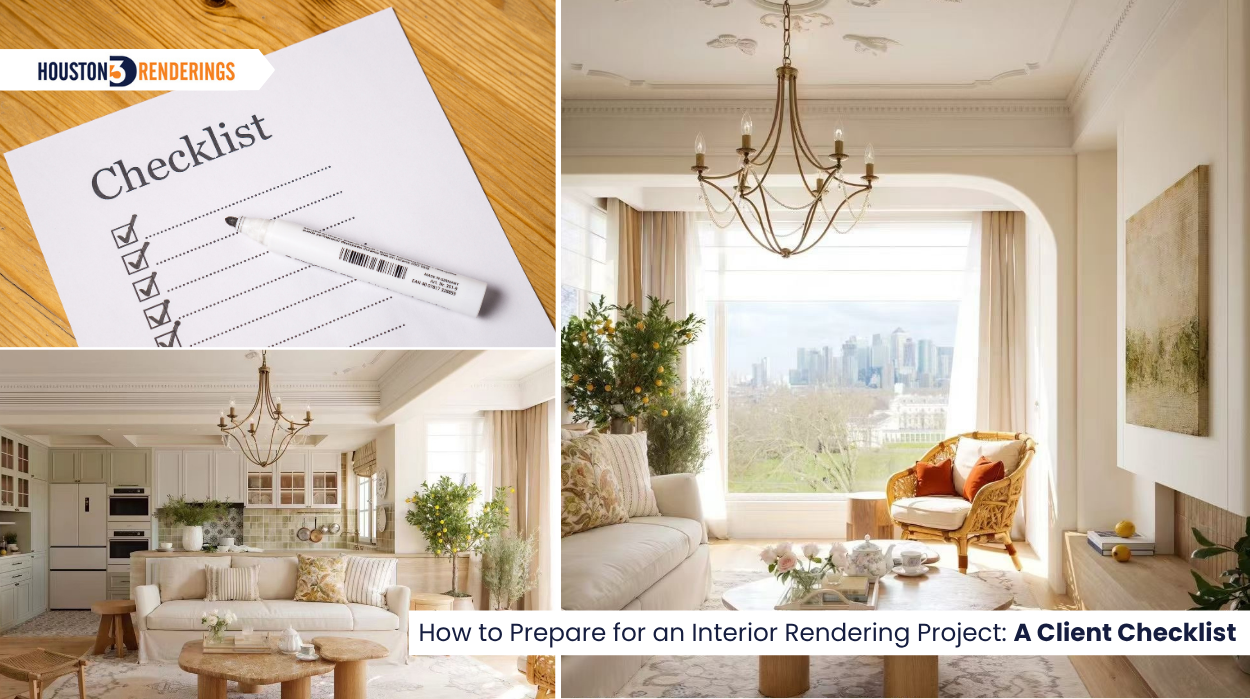
You have the floor plan. You've selected the furniture, saved dozens of inspiration images, and finally settled on the materials. Now comes the next question: "How do you turn all those design decisions into a realistic 3D interior rendering?" Before a rendering artist can bring a space to life, they need to understand what's being designed. The layout, dimensions, materials, furniture, lighting, and even the camera angles can influence the final result.
And here's something worth knowing: a project doesn't have to be 100% finalized before you contact a 3D rendering company. But the more useful information you can provide at the beginning, the easier it is to communicate your vision. Whether you're an interior designer presenting a concept, a builder marketing a new property, or a homeowner planning a renovation, here's a checklist to help you prepare.
Before gathering files and references, take a step back and define the purpose of the rendering.
Are you presenting a new design to a client? Marketing a residential property that's still under construction? Showing a furniture layout for a commercial space? Or helping someone understand how a renovation might look when completed? The answer matters because it helps determine which spaces, features, and details deserve the most attention.
For example, a residential project might need to highlight the living room, kitchen, and master bedroom. A commercial interior might require a closer look at the reception area, workstations, meeting rooms, or customer-facing spaces. You don't need a long project description. A few sentences explaining the purpose, property type, and intended audience can give the rendering team a useful starting point.
Once the purpose is clear, the next step is communicating the actual space.
The rendering team needs to understand its dimensions, layout, existing conditions, and architectural features before translating the design into a 3D environment.
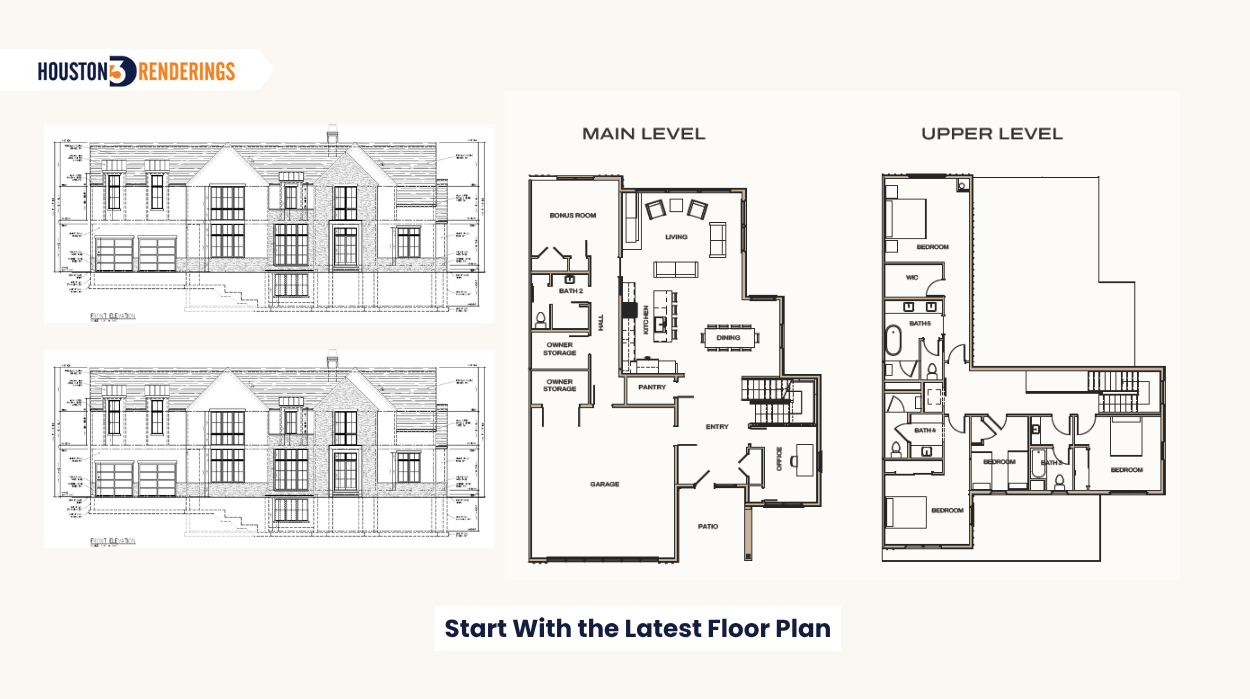
The latest floor plan is one of the most useful files you can provide.
It helps establish the room layout, circulation, furniture placement, and relationship between different areas.
Before sharing it, check whether you have:
A quick tip: Always send the most recent drawing. Even a small layout change can affect furniture placement, camera positioning, and the overall composition of the rendering.
Don't have a CAD file? A clear PDF or dimensioned drawing can still be a useful starting point.
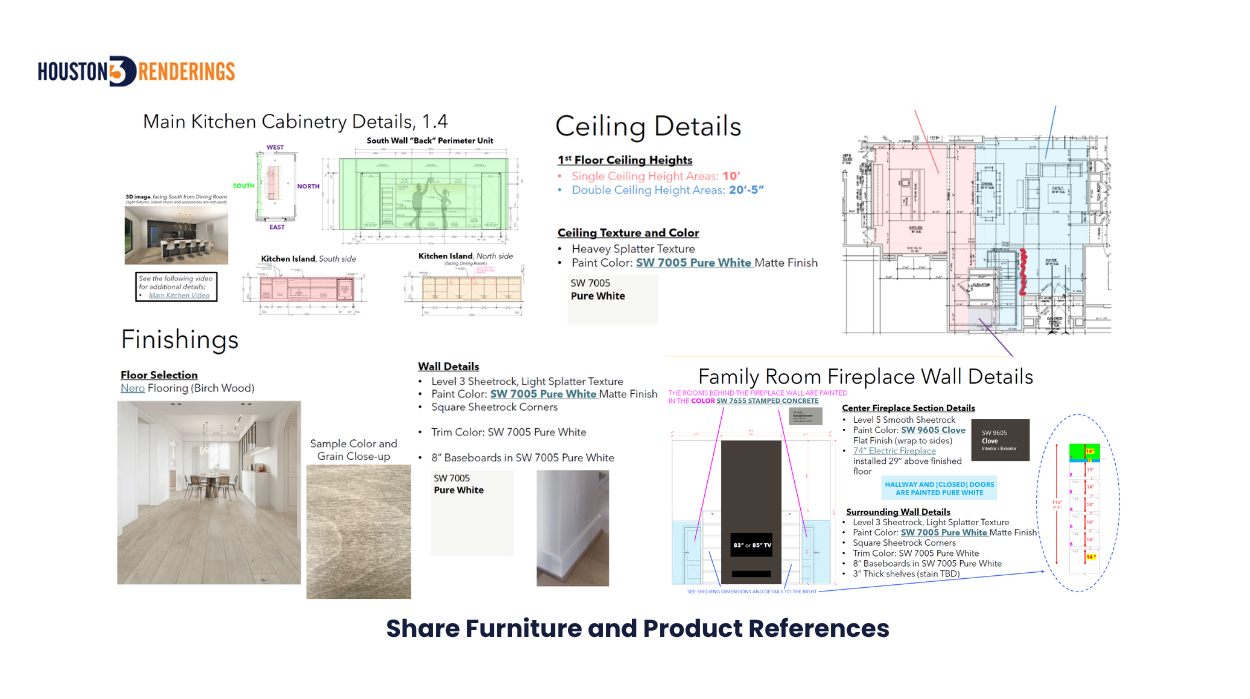
A floor plan explains the layout, but it doesn't always show the vertical details of an interior. Think about a kitchen with custom cabinetry, a living room with decorative wall paneling, or a bedroom with a detailed headboard wall. These features may need additional information to be visualized accurately.
Share elevations, sections, and detail drawings where available. Pay particular attention to:
Site photographs can also help when an existing space is being renovated or redesigned. They give the rendering team a better understanding of the current conditions.
A client may share a floor plan, a preliminary sketch, site photographs, and a few interior design references to get a rendering project started. Our team reviews these materials to understand the room layout, existing conditions, design direction, and requested camera views. If important dimensions or design details are missing, we'll clarify those requirements before moving forward with the visualization.
Now comes the part that brings the design direction into focus. Two rooms can have exactly the same layout but look completely different depending on their materials, furniture, colors, and lighting. This is where your selections and references become especially useful.
Have you already selected the flooring, countertops, wall paint, tiles, or wood finishes? Share those choices with the rendering team.
Material selection influences how surfaces appear in the final image. A warm oak floor, polished marble countertop, matte black fixture, and textured wall finish each have different visual qualities.
Useful references include:
Here's a practical tip: Avoid using broad descriptions such as "white marble" or "wood flooring" when a specific finish has already been selected. A product reference or manufacturer specification can communicate the intended appearance more clearly.
Not every finish needs to be finalized before the project begins. Just identify which selections are confirmed and which are still under consideration.
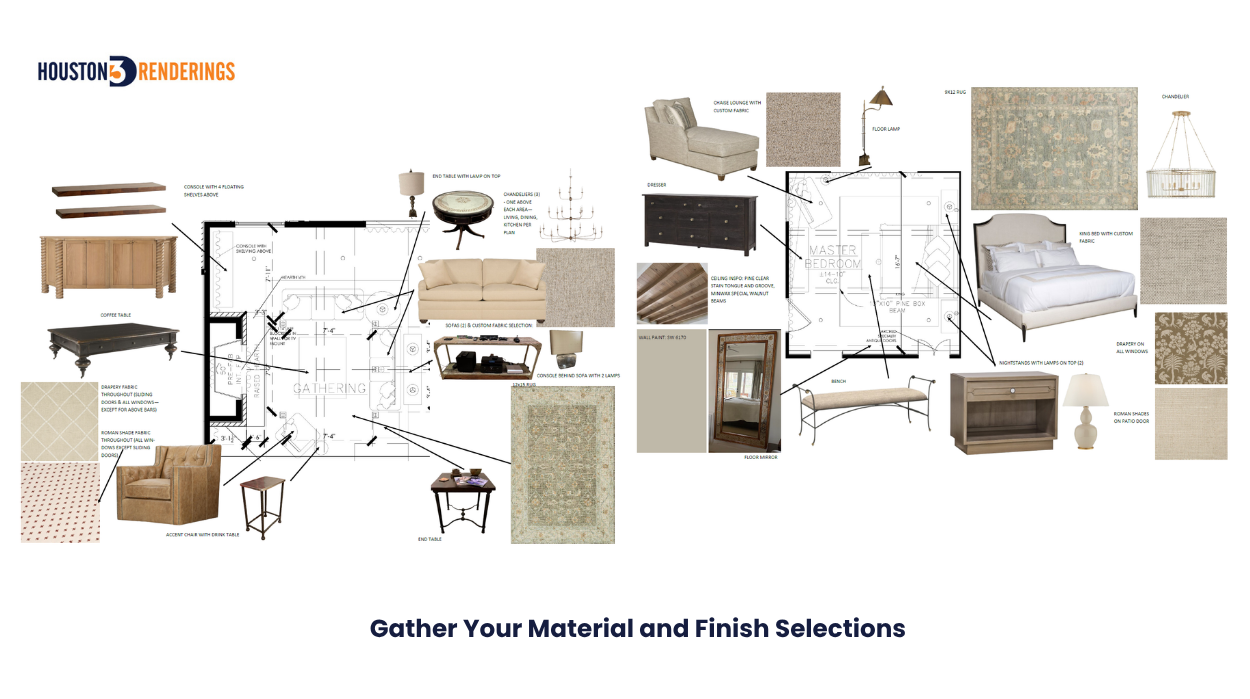
Furniture and fixtures can have a major influence on the overall appearance of an interior.
Imagine a living room designed around a particular sectional sofa, statement coffee table, and pendant lighting. Replacing those items with generic alternatives could change the look and feel of the space.
If specific products need to appear in the rendering, provide:
Product images, links, dimensions, and manufacturer details are all helpful. If you've already prepared a furniture selection presentation, share that too.
One thing to clarify: Let the rendering team know which items must match the selected products and where similar alternatives would be acceptable. This avoids confusion later.
Lighting does more than illuminate a room. It influences the atmosphere, depth, material appearance, and overall mood of an interior.
A restaurant with warm ambient lighting will have a different visual character from a bright, naturally lit office. Similarly, a residential bedroom may call for a softer atmosphere than a kitchen or workspace.
To communicate your lighting preferences, consider sharing:
You can also mention whether you prefer a daytime or evening presentation. Rather than simply saying "make it look luxurious" or "use warm lighting," share one or two references that demonstrate the mood you're aiming for.
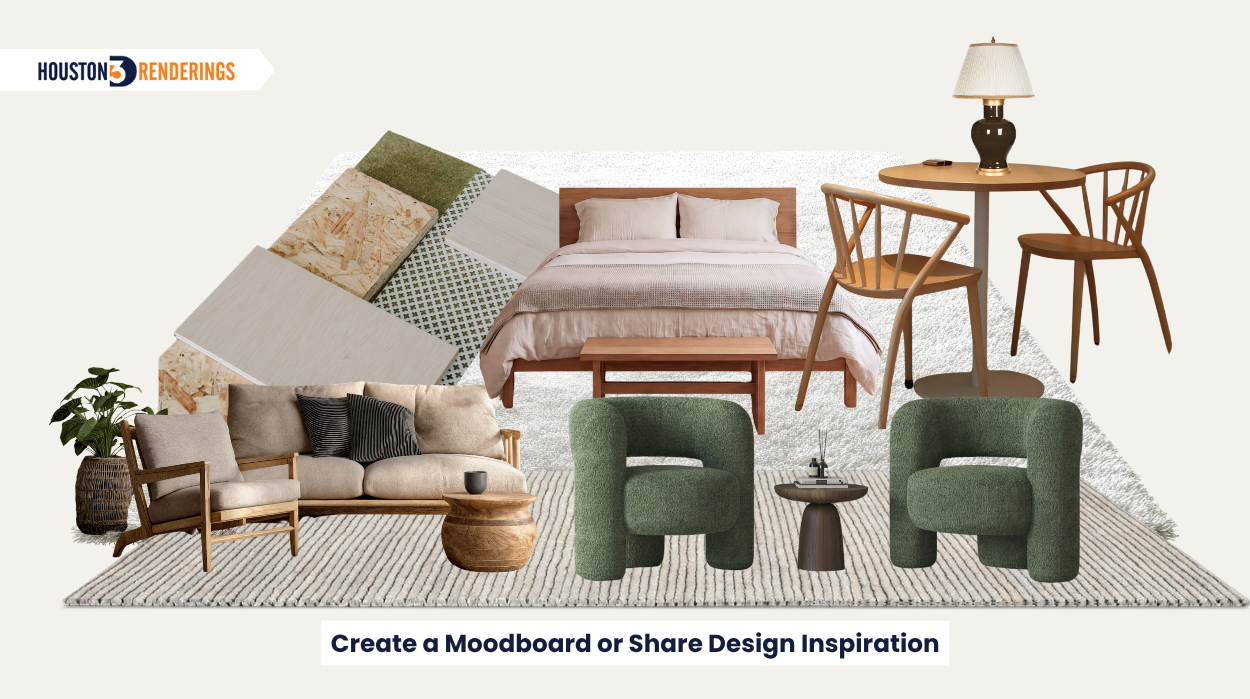
Sometimes, drawings and product selections are ready, but the overall design direction still needs explaining. Is the space contemporary, traditional, minimalist, or industrial? Does it have a warm neutral palette, bold colors, or a mix of natural materials?
A moodboard can bring these ideas together.
It may include:
You don't need a professionally designed presentation. Even a small collection of carefully selected images can help communicate the intended aesthetic.
One important distinction: inspiration images should explain what you like, not necessarily serve as a request to reproduce someone else's entire design. Point out the specific elements you want to reference, such as the color palette, furniture arrangement, lighting, or overall atmosphere.
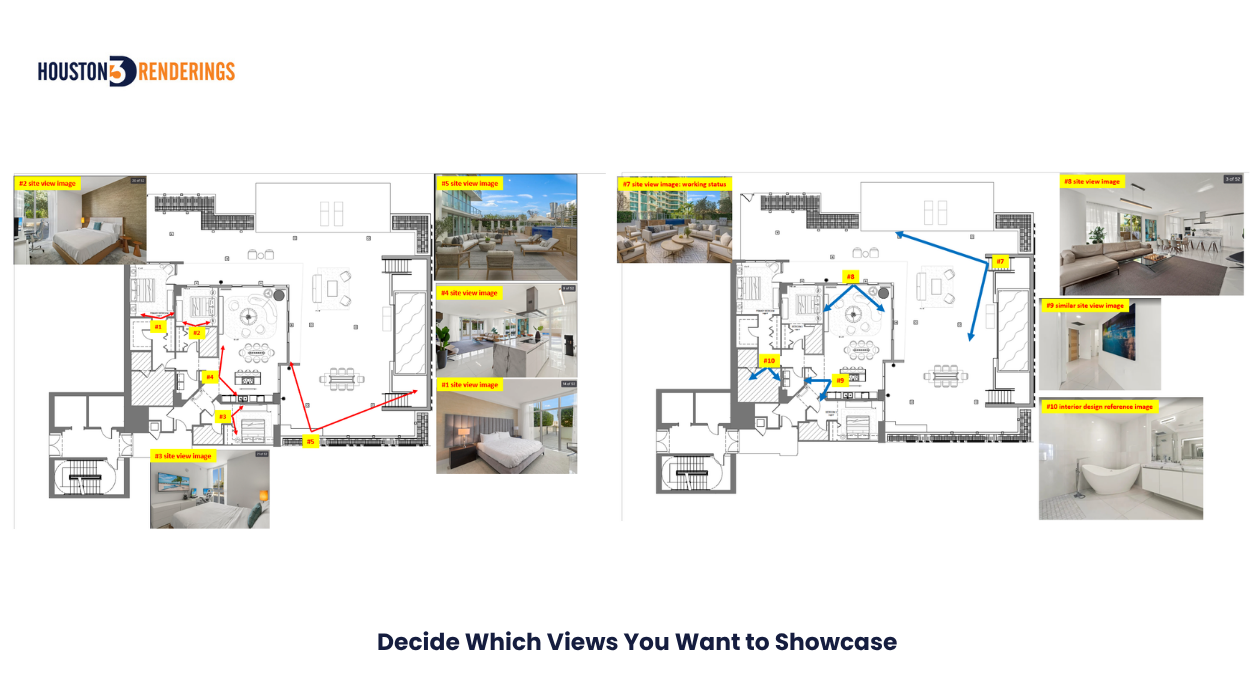
Your design may have several beautiful spaces, but that doesn't mean every corner needs its own rendering. The next step is deciding what the final visuals should communicate and where they will be used.
Think about the purpose of your presentation and identify the spaces or features that deserve attention.
Before getting started, consider:
You can mark preferred views on a floor plan, share screenshots from a 3D model, or provide reference photographs showing the perspective you have in mind.
Not sure which angles would work best? Discuss the options with the rendering team. They can help identify views that communicate the design effectively.
Before the work begins, make sure everyone understands what needs to be delivered.
A rendering project may involve a few interior perspectives or a wider set of visual materials, depending on the presentation goals.
Discuss the following:
Also, mention any fixed dates, such as an upcoming client presentation, property launch, or marketing campaign. A clear project scope helps the rendering team understand the workload, plan the process, and provide a more accurate quote and estimated turnaround time.
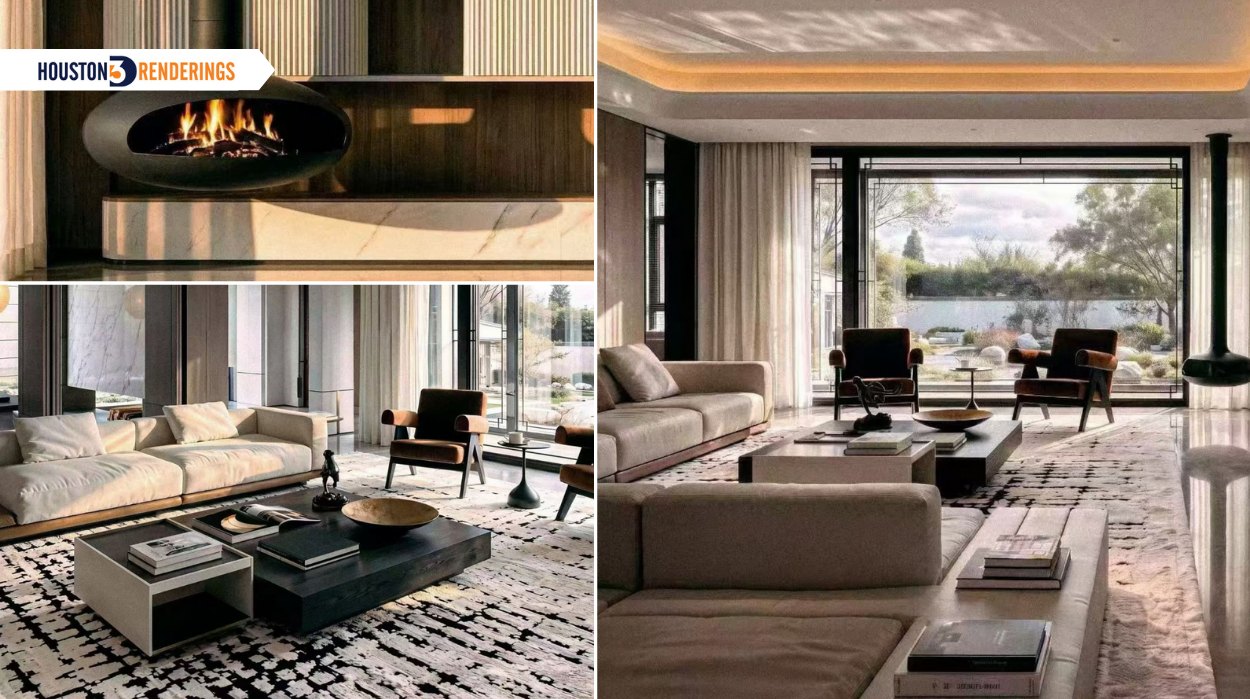
Before sending your project brief, use this quick checklist:
Project information
Space and design information
Visualization requirements
You don't necessarily need every item finalized before contacting a rendering company. The goal is to provide enough information to help the team understand your project and identify what's still needed.
You don't need to have every detail figured out before reaching out.
Whether you have completed architectural drawings, preliminary sketches, material selections, or just a collection of design references, share what you have with our team.
At Houston3DRenderings.com, we'll review your available project information, discuss your preferred views and visualization requirements, and provide a quote along with an estimated turnaround time based on your project scope.
When contacting us, include:
Have a project coming up? Let's discuss it. Request a Quote from Houston3DRenderings
Start Your Project
Send us your drawings and references — we'll review your project and send a customized quote. Call 832-422-5264.

 Previous